For homes located outside municipal sewer systems, septic systems play a vital role in wastewater management. A properly designed and installed system safely treats and disperses household wastewater while protecting both property and the environment. Understanding how to install a septic system is essential for homeowners building a new home or replacing an aging wastewater system.
Because septic installation involves excavation, engineering, permits, and environmental considerations, the process requires careful planning and professional expertise. Improper installation can lead to system failures, costly repairs, groundwater contamination, and legal compliance issues.
This guide explains what is a septic system, outlines the complete septic system installation process, and shares practical septic system installation tips to help homeowners understand what to expect.
What Is a Septic System?
Before learning how to install a septic system, it helps to understand what is a septic system and how it works.
A septic system is an underground wastewater treatment system commonly used in rural or suburban areas without access to public sewer systems.
The system typically includes:
- A septic tank
- A drain field (also called a leach field)
- Connecting pipes
- Soil filtration areas
Wastewater from sinks, toilets, showers, and appliances flows into the septic tank, where solids settle while liquids move into the drain field for natural filtration through the soil.
A properly functioning septic system safely manages wastewater while minimizing environmental impact.
Step 1: Obtain Permits and Understand Local Regulations
One of the most important septic system installation steps is securing the required permits.
Most jurisdictions require approval before installation begins because septic systems directly affect public health and environmental safety.
Permit requirements may include:
- Property inspections
- Site evaluations
- Soil testing approval
- Engineering reviews
- Installation permits
Local health departments or environmental agencies often regulate septic system installations.
Skipping permits or failing inspections can result in fines or expensive corrections later.
Step 2: Conduct Soil Testing
Soil conditions significantly affect septic system performance.
A professional soil test, often called a perc test (percolation test), measures how quickly soil absorbs water.
This step determines:
- Drain field placement
- System size requirements
- Soil suitability
- Wastewater absorption rates
Soils with poor drainage may require alternative septic system designs.
Proper testing is one of the most critical parts of any septic system installation guide because poor soil conditions can lead to backups and drain field failure.
Step 3: Design the Right Septic System
Not all septic systems are the same.
The size and design depend on several factors, including:
- Household size
- Number of bathrooms
- Daily water usage
- Property size
- Soil type
A licensed engineer or septic contractor will determine the correct tank size and drain field layout.
Choosing the proper system design improves efficiency and prevents overloading.
When learning how to install a septic system, homeowners should avoid assuming one-size-fits-all solutions work for every property.
Step 4: Choose Proper Septic Tank Placement
Septic tank placement affects both functionality and legal compliance.
A septic tank should be positioned:
- Away from wells or water sources
- At safe distances from buildings
- In accessible locations for maintenance
- On stable, level ground
Most local regulations require minimum setback distances between septic systems and nearby structures.
Poor placement can make maintenance difficult or increase contamination risks.
Professional contractors understand spacing requirements and environmental considerations.
Step 5: Prepare the Site
Proper site preparation is essential for safe and efficient installation.
During this stage, contractors:
- Mark excavation areas
- Remove debris or obstacles
- Prepare access for equipment
- Ensure grading supports drainage
Excavation equipment is often required to dig space for both the septic tank and drain field.
One of the most overlooked septic system installation tips is ensuring site preparation minimizes soil compaction, especially near the drain field.
Compacted soil can reduce drainage performance.
Step 6: Install the Septic Tank
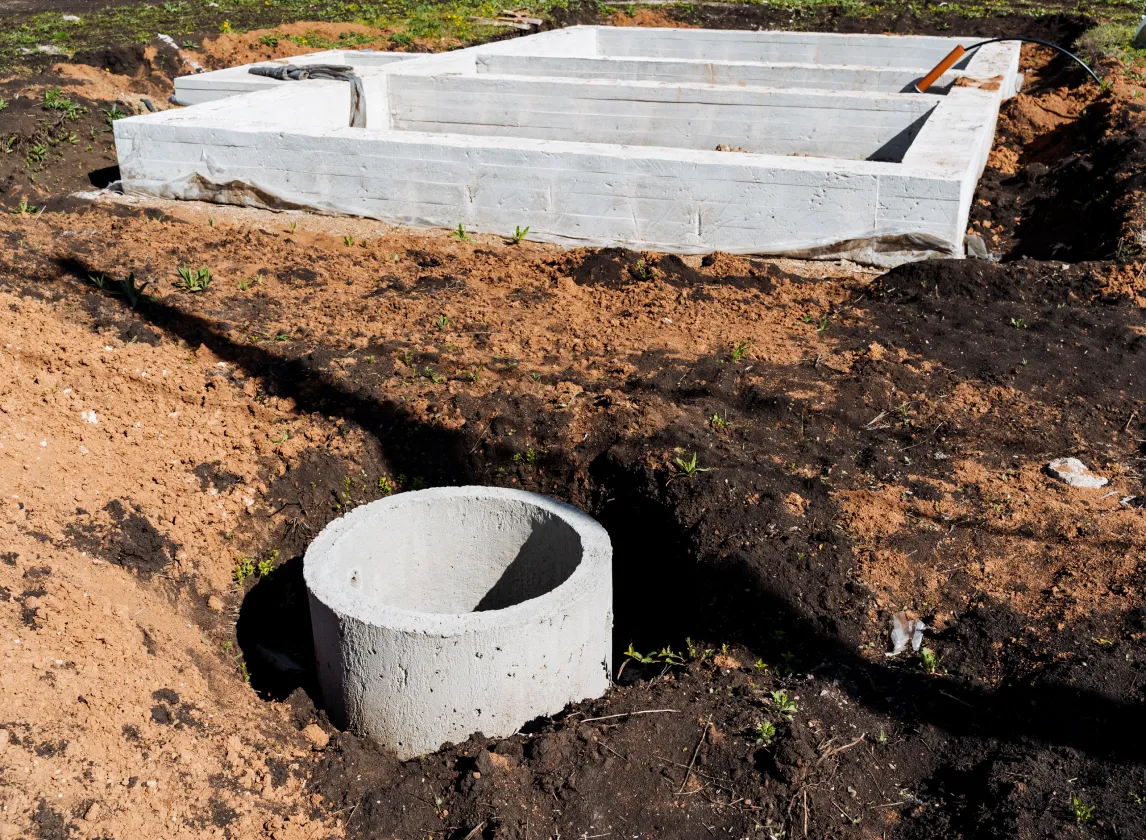
Once excavation is complete, the septic tank is placed into the prepared area.
Most tanks are made from:
- Concrete
- Fiberglass
- Plastic/polyethylene
The tank must be installed level to function correctly.
During installation, contractors connect inlet and outlet pipes that move wastewater between the house and drain field.
Tank placement requires careful handling because improper positioning can cause shifting or long-term drainage issues.
This stage is a major milestone in the septic system installation process.
Step 7: Install the Drain Field
The drain field is one of the most important components of a septic system.
After wastewater exits the septic tank, it travels into perforated pipes beneath the soil where natural filtration occurs.
Drain field installation typically involves:
- Digging trenches
- Adding gravel or drainage materials
- Installing perforated pipes
- Covering with soil
Proper spacing and grading are essential to prevent pooling or wastewater backups.
A poorly installed drain field is one of the leading causes of septic system failure.
Understanding drain field requirements is a key part of learning how to install a septic system successfully.
Step 8: Complete System Testing and Inspection
Before the system becomes operational, inspections are usually required.
Inspectors verify:
- Proper tank placement
- Pipe connections
- Drain field installation
- Permit compliance
- Safety standards
Testing ensures wastewater flows properly and confirms the system meets local regulations.
Only after approval should the system begin normal operation.
Common Septic Installation Mistakes to Avoid
Mistakes during installation can shorten system lifespan and create expensive problems.
1. Ignoring Soil Conditions
Poor drainage soils often require alternative designs.
Skipping soil testing increases failure risk.
2. Incorrect Tank Sizing
An undersized system may overload quickly and fail prematurely.
3. Poor Drain Field Placement
Installing drain fields near heavy traffic or poor drainage areas can cause compaction and reduced efficiency.
4. Skipping Permits
Unapproved installations can create legal and environmental problems.
5. DIY Installation Without Expertise
Because septic systems affect health and groundwater, professional installation is strongly recommended.
Following a professional septic system installation guide helps homeowners avoid these costly mistakes.
Septic System Installation Tips for Long-Term Performance
Once installed, routine care helps maximize system lifespan.
Helpful septic system installation tips for long-term performance include:
1. Conserve Water
Excessive water use can overload the system.
Use water-efficient appliances and avoid unnecessary waste.
2. Avoid Harsh Chemicals
Strong cleaning products may disrupt natural bacteria inside the septic tank.
3. Schedule Regular Pumping
Most septic tanks need pumping every 3–5 years depending on usage.
4. Protect the Drain Field
Avoid:
- Parking vehicles over it
- Planting large trees nearby
- Building structures on top
Drain fields require airflow and proper soil drainage to function effectively.
5. Watch What Goes Down Drains
Avoid flushing:
- Grease
- Wipes
- Feminine hygiene products
- Harsh chemicals
These materials can clog the system.
Why Professional Installation Matters
While homeowners may research how to install a septic system, installation is rarely a DIY project.
Professional septic contractors understand:
- Local regulations
- Engineering requirements
- Soil conditions
- Drainage systems
- Environmental safety standards
Hiring experienced professionals helps prevent expensive repairs, contamination risks, and system failures.
Professionally installed systems typically perform better and last longer.
Final Thoughts
Learning how to install a septic system helps homeowners better understand the planning, design, and safety requirements involved in effective wastewater management. From understanding what is a septic system to navigating the full septic system installation process, proper preparation plays a major role in long-term reliability.
By following a trusted septic system installation guide, conducting soil testing, securing permits, and using experienced professionals, homeowners can protect their property and avoid costly mistakes.
A properly installed septic system supports efficient wastewater treatment, protects the environment, and provides dependable performance for decades.